How to Adjust Sprinkler Heads

Proper irrigation is key to a thriving landscape, and is there any more essential component to your irrigation system than the sprinkler heads themselves?
Even and efficient water distribution is key to growing a green lawn, however, sprinkler heads have a tendency to become misaligned, especially if you’re turning your system on for the first time at the conclusion of the off-season. This is why sprinkler head adjustment is a major facet of our sprinkler maintenance and yearly sprinkler turn-on services.
If you're having problems with your sprinkler heads, it may be time for an adjustment.
This article will show you how to adjust sprinkler heads for maximum coverage and efficiency. Read on!
Why Adjust Your Sprinkler Heads?

There are several reasons why you might need to adjust your sprinkler heads.
The most common reason sprinkler heads become misaligned is because they’ve become obstructed or buried during the off-season. Locating these buried sprinkler heads can sometimes prove pesky, but we’ve written a separate guide to help you out with that.
If your plants are not getting enough water, you may need to increase the arc or radius. Or, if you're overwatering your lawn, you may need to decrease the radius to ensure no sprinkler heads are overlapping, thus delivering too much water to an area.
Other reasons for adjusting sprinkler heads include changing the flow rate or pattern and compensating for wind or other weather conditions.
Whatever the reason, it's important to know how to adjust your Hunter sprinkler heads.
How To Adjust Sprinkler Heads
We've put together a step-by-step guide on adjusting sprinkler heads. Whether you need to change it for precipitation, wind, or to keep your lawn healthy, this guide should prove useful:
For Radius Adjustment
Radius measures how far the water will travel from the sprinkler head.
Step 1: Sprinkler brands like Hunter include a hex key with each sprinkler head. Use this key to loosen the radius adjustment screw located in the center of the head. Insert the key into the screw and turn it clockwise to adjust the radius.
Step 2: To decrease the radius, turn the key counterclockwise. Try to do this slowly, so you don't overshoot the desired radius. When you reach 25 percent of a turn, you won't be able to adjust the radius any further.
Step 3: Turn the key back clockwise when you want to increase the radius again. You may need to adjust back and forth a few times to find the perfect setting.
For Rotor Adjustment
The sprinkler's rotor head, sometimes called the sprinkler head, spins and shoots water. Depending on the model, the rotor head on your sprinkler can go from 40 degrees to 360 degrees in one rotation.
Step 1: To start, find the arrow on the top of the rotor head. The arrow is pointing in the direction that the water will spray. It is usually a raised circle with an arrow in the center.
Step 2: Once you locate the arrow, find the pull-up socket. It is usually a tiny, black knob on the side of the rotor head.
Step 3: Now that you have found the pull-up socket, it is time to push the end of the hex key into it. The whole sprinkler head will then pop up. You can adjust the inner assembly of the rotor head and check the arc distance.
Step 4: Gently turn the sprinkler head from the left and then to the right. You can also hold it and turn the entire sprinkler head to change the arc. Check where the arrow is pointing to get the perfect arc for your needs.
Step 5: Tighten the sprinkler head gently and double-check that it is pointing in the right direction.
Step 6: Look for the plus/minus sign on the side of the rotor. Once you find it, insert the hex key to turn it clockwise to widen the arc. You can hold the sprinkler head with your hand as you adjust the plus/minus sign. The arc will widen to 90 degrees as you do a complete turn of the plus/minus sign.
Step 7: Check the arc to see if the stop points are too close. Once complete, you can push back the sprinkler head, which will snap into place.
For Precipitation Rate
The precipitation rate is how much water your lawn is getting.
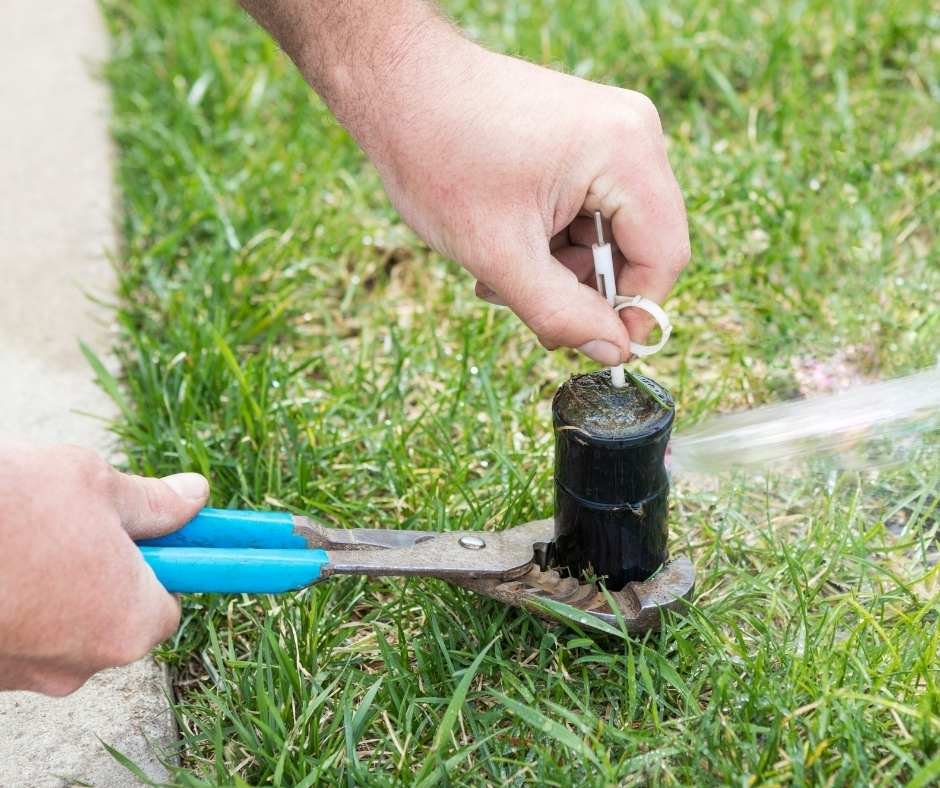
Step 1: Insert your hex key into the pull-up socket until the head pops up. You should see it on the side of the center hub.
Step 2: Insert the hex key into the radius adjustment screw and turn it counterclockwise to remove the nozzle, which is located on the underside of the head.
Step 3: Now that the nozzle is removed, you can check how much water comes out of it per minute. You can turn off the water to replace the nozzle with a different one with a higher or lower precipitation rate.
Step 4: For a high precipitation rate, a large nozzle will release more water. You will need to replace the nozzle with a smaller one for a low precipitation rate.
Step 5: Push your new nozzle on the hub and insert your hex key again to tighten the nozzle screw. You have now successfully adjusted your precipitation rate.
For Sprinkler Adjustments
You may need to adjust your sprinkler head if you notice that the water is not reaching certain areas of your lawn.
Step 1: Turn on your irrigation system and walk around to see which areas are not getting enough water.
Step 2: If you find a sprinkler that isn’t reaching far enough, you can adjust it. Gently twist the sprayer head to the right by holding the base with your left hand. You may notice noise when you move the sprayer head. This is normal and just means that the internal mechanism is working.
Step 3: To decrease the arc, you can grip the top cap of the sprayer and then twist it. You can stop at any point once you reach the desired arc. If you need to increase the arc, twist the top cap in the opposite direction. Again, you can stop at any point when you're okay with the new arc.
Step 4: Turn the nozzle screw clockwise to reduce the radius. You can insert a 1/4 inch flat-head screwdriver into the nozzle screw. This is located at the center of the sprinkler cap. If you want to increase the radius, turn the nozzle screw counterclockwise.
Helpful Tips To Remember
● A Hunter hex key is usually included in the package when purchasing a Hunter sprinkler head. If you misplace yours, Hunter sells replacement hex keys on their website.
● When adjusting, it is vital to turn the head or cap gently. Over-tightening can damage the internal mechanism and cause problems later. It is also important to ensure that you do not have any loose parts after making your adjustments.
Conclusion
Sprinkler heads are easy to adjust with just a few simple steps. Depending on your needs, you can adjust the arc, radius, and precipitation rate.
With these tips in mind, you can keep your lawn healthy and green all season long.